Tips for Achieving a Perfect DIY Manicure for Crossdressers
Our hands are, along with our faces, our letters of presentation to the world. Because of that, the look of them is very important in how others perceive us. Genetic males usually have rougher and less elegant hands than genetic women. If you are a newcomer, we have talked a little (here) about the importance of achieving feminine hands. Today, we are going to talk more about one key point mentioned there: painting your nails to get a perfect manicure.
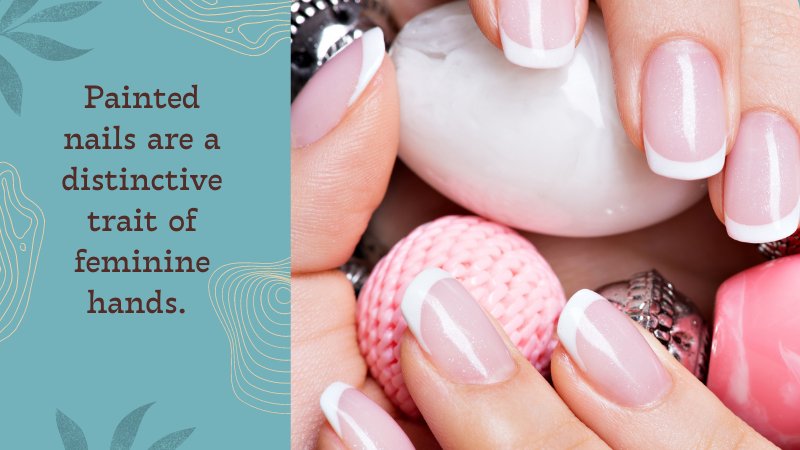
Painted nails are a distinctive trait of feminine hands. In this article I am going to guide you through all the steps for you to achieve perfectly looking nails without going to the salon.
You’ll learn how to prepare your nails, use a base coat, paint them, and take care of them so they last longer!
I am also going to talk about the basic tools that you will need in order to do so.
If you, for any reason, want to achieve perfectly painted nails without going to a salon and spending a fortune, then keep reading!
Anyone who’s looking to make their hands a lot more feminine with a homemade manicure will find here a step-by-step explanation.
Keep reading and wave goodbye to last year with a perfect manicure!
◆ The Secrets of Healthy-Looking Manicure
Like your skin, nails require healthy eating habits and regular moisturizing.
But unlike the former, the differences between the nails of biological men and those of biological women are few.
In fact, the most notorious difference is the growth ratio. Biological males grow their nails faster than biological women.
Besides that and of course the shape of them but that’s very relative to your genes.
You can improve the health and looks of your nails very easily with a simple routine.
This will make your nails stronger and your polish look better and last longer.
If you notice your nails are fragile, you may want to look into some food supplements or nail boosts containing any of these nutrients below:

- Biotin (also known as Vitamin H and Vitamin B7): Vitamin H is present in red meats, especially the liver. At the same time, Vitamin B7 is found in nuts, milk, eggs, and many cereals.
- Omega-3: Present in fish, it is also good for your heart and circulatory system.
- Iron and protein: As with vitamin H, you can find these nutrients in red meats. There are high amounts of iron and proteins in legumes and spinach.
- Vitamin C: Widely available in many Citrics and kiwi contain high amounts of this vitamin.
- Magnesium: Some magnesium-rich foods are spinach, pumpkin seeds, and nuts like peanuts and almonds.
- Zinc: Seafood is very rich in zinc, but you can also find this nutrient in nuts, red meats, beans, and eggs.
Using a supplement or a nail-boosting product is fine, but try to eat diversely, and you can avoid extra spending on such things.
Besides, eating healthy will also make you feel better as a whole!
◆ Prepping your nails for the Manicure
Before we start, let’s go through the things you’ll need to prep your nails.
You’ll find all these items in any pharmacy or supermarket.
There is no need to go to a specialized house, but if you know of some that you love, then go with it! The items you are going to need are:
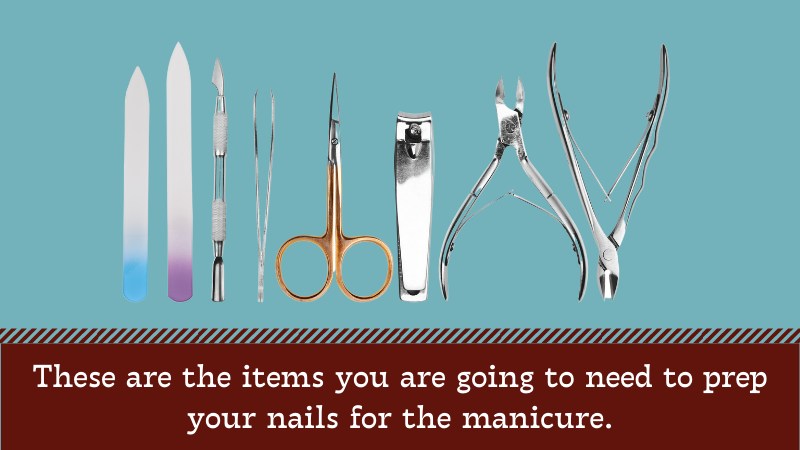
- An emery board
- A cuticle pusher
- A cuticle remover
- A nail priming emery board
If you are not acquainted with these terms, you may think that the first and last items are the same, but they aren’t.
The first is designed to file natural nails. They are more abrasive as the grain is thicker.
They are good at first, but they are of no use for finishing touches.
That’s why you’ll need a nail priming emery board with a finer grain that will allow you to soften the rough edges of your initial filing.
Now that we have a clear understanding of what our instruments are let’s prep our nails for a fancy manicure.
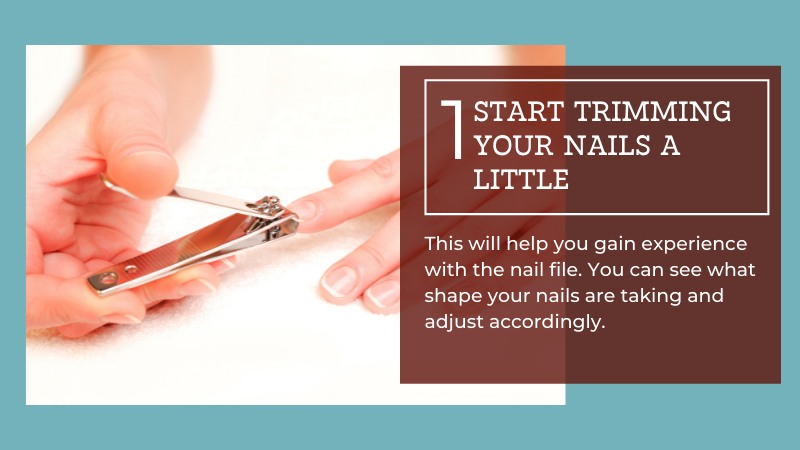
- If you have a scissor or a nail clipper and your nails are very long, you may want to start trimming them a little. First, I strongly recommend that you file your nails all that’s necessary. This will help you gain experience with the nail file. You can see what shape your nails are taking and adjust accordingly.
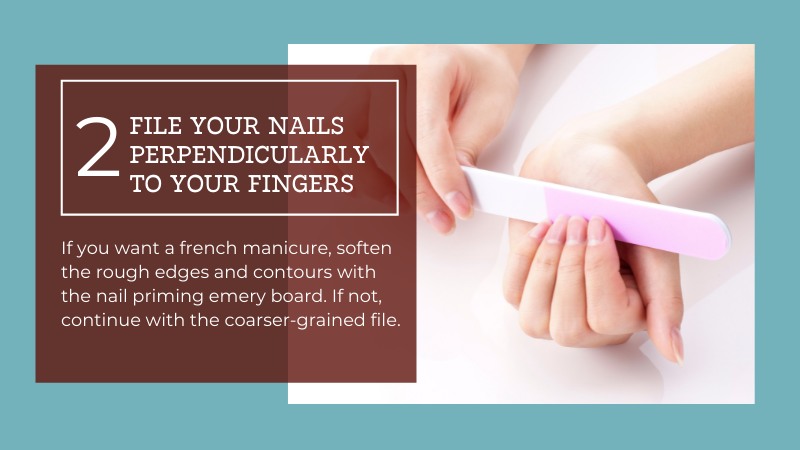
- Starting with the thicker-grained emery board, file your nails perpendicularly to your fingers. Do this until you achieve a primitive-looking French manicure. You may want to start filing your nails a little bit longer than desired to leave some room for errors and corrections. Remember to file always in the same direction to avoid chipping your nails. If you want a French manicure, soften the rough edges and contours with the nail priming emery board. If not, continue with the coarser-grained file ‘til you achieve the desired shape.
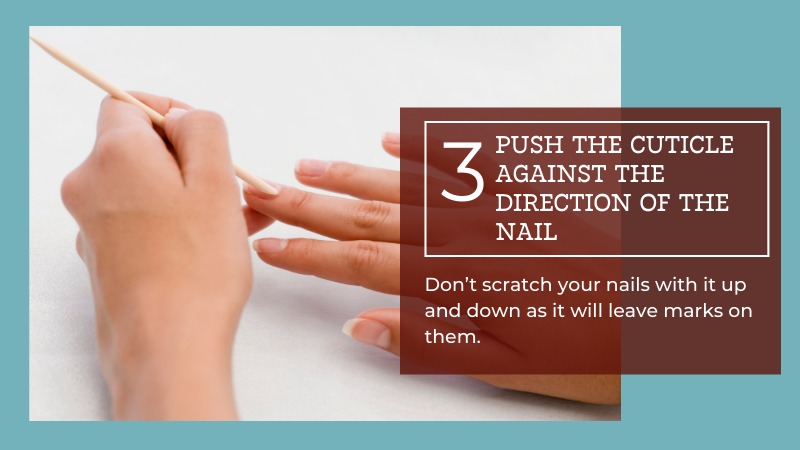
- Apply the cuticle remover solution on your fingers and let it work for 2 minutes or so. With the round edge of the cuticle pusher, push the cuticle against the direction of the nail all the way back. Don’t scratch your nails with it up and down, as it will leave marks on them.
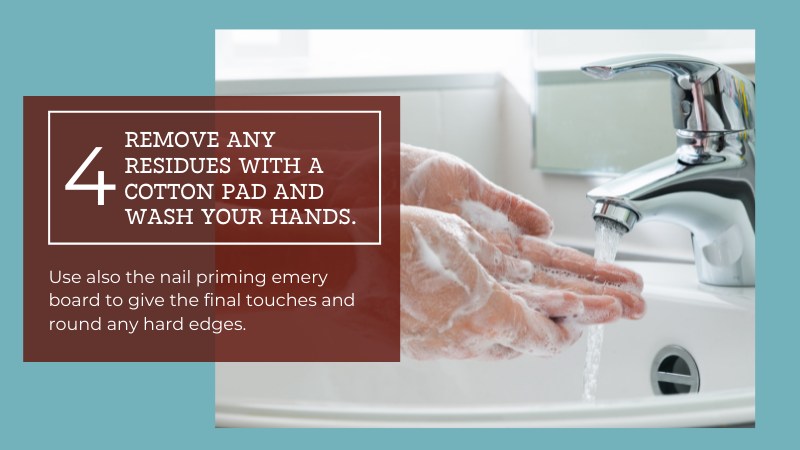
- Use the nail priming emery board to give the final touches and round any hard edges. Remove any residues with a cotton pad and wash your hands.
◆ Painting Your Nails
Now that our nails are in perfect shape, they are ready to be painted. But are you? Have you decided on the color or the pattern?
Look for inspiration online if you are looking for some nail art or pattern.
Once you have decided on the colors and the base and top coat you’ll be using; you are ready to start painting your nails.
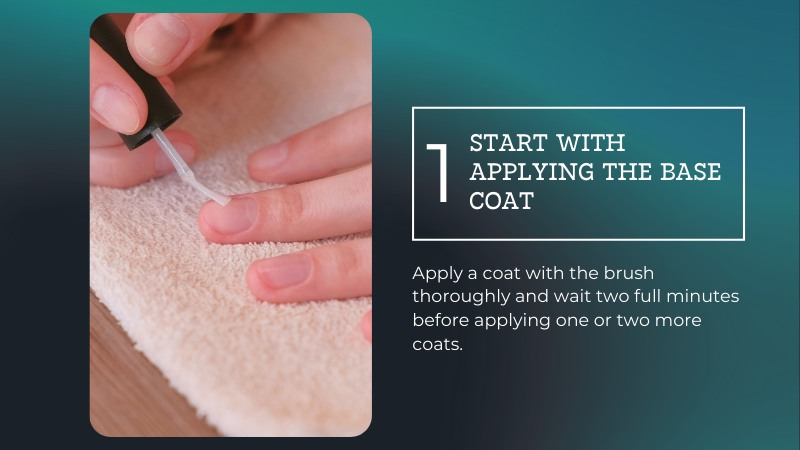
- Let’s start with applying the base coat. The base coat helps your nails keep hydrated and prevents chipping. This allows for the color to look brighter and stay like that longer. Also, it will prevent your nails from staining. Apply a coat with the brush thoroughly and wait two full minutes before applying one or two more coats. Before applying the next coat, make sure that your nails are dry.
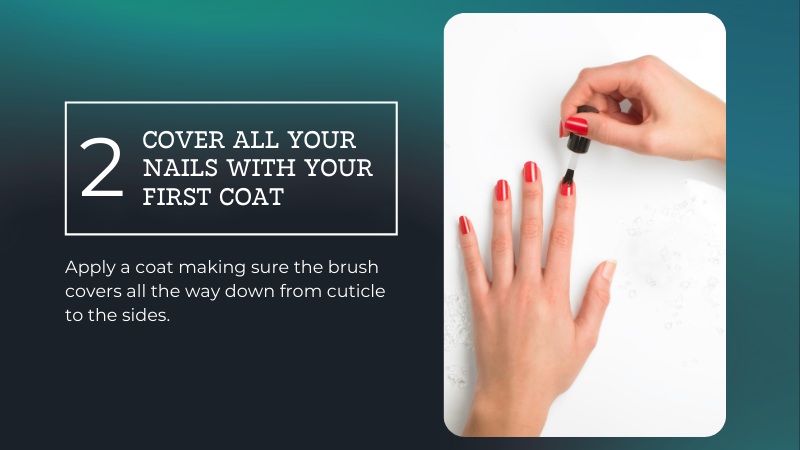
- When your nails are fully dried, grab the nail polish, and let’s begin. Apply a coat, making sure the brush covers all the way down from the cuticle to the sides. It is very important to cover all your nails with your first coat; this will make it easier to apply the next layers. The brush shouldn’t be overloaded with paint. It is better to apply three thin layers of nail polish than a thick one. It is key that the brush has enough paint to cover the whole nail in one sweep.
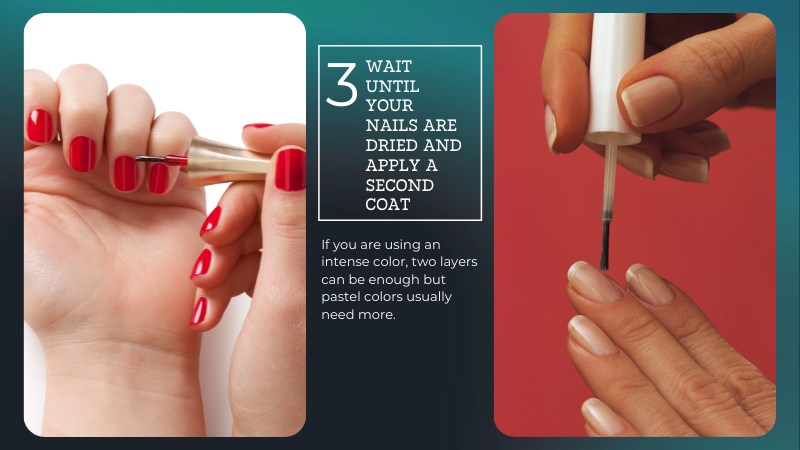
- Wait two minutes or so until your nails are dried, and apply a second coat. If you are using an intense color, two layers can be enough, but pastel colors usually need more. Remember to apply thin layers each time and wait until they are dried before applying the next one. If you are thinking of doing some nail art, follow the previous steps with the next colors. Remove the paint on the sides of your nails with the priming emery board.
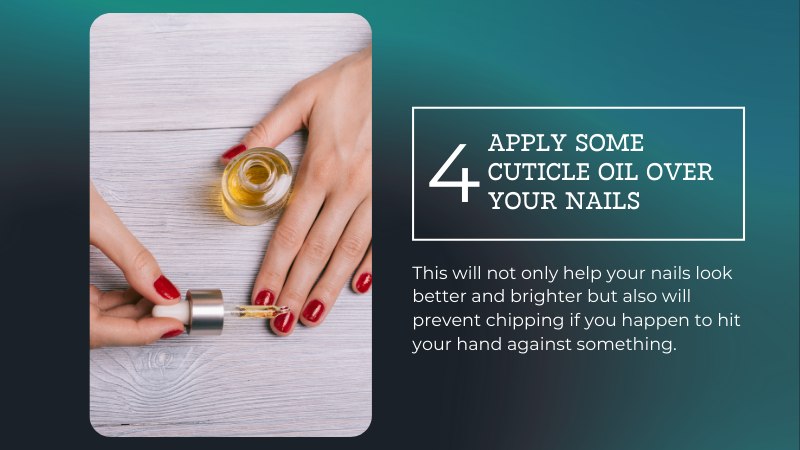
- Apply the top coat in the same manner, with one stroke, covering your nails wholly. The top coat will keep the color of your nail polish shiny and help it last longer. Apply some cuticle oil over your nails once they are fully dried. This will not only help your nails look better and brighter but also will prevent chipping if you happen to hit your hand against something.
◆ And Now with the Pro Tips
Now that your nails are fully painted and looking good, it’s time for some pro tips.
Here are some recommendations for you to help with your general nail health: removing the nail polish and storing your goodies properly.
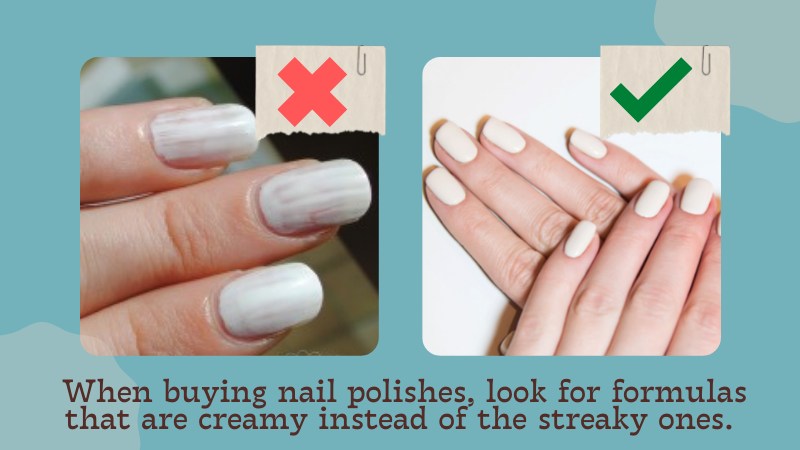
- If you like neon-colored polishes, to help you brighten up the color, apply a white base coat first. Many tips are going around to dry your nails quicker. I recommend staying away from them. There is nothing better than letting your nails dry slowly with the air. When buying nail polishes, look for formulas that are creamy instead of streaky ones. They will work many times better and achieve better-looking results.
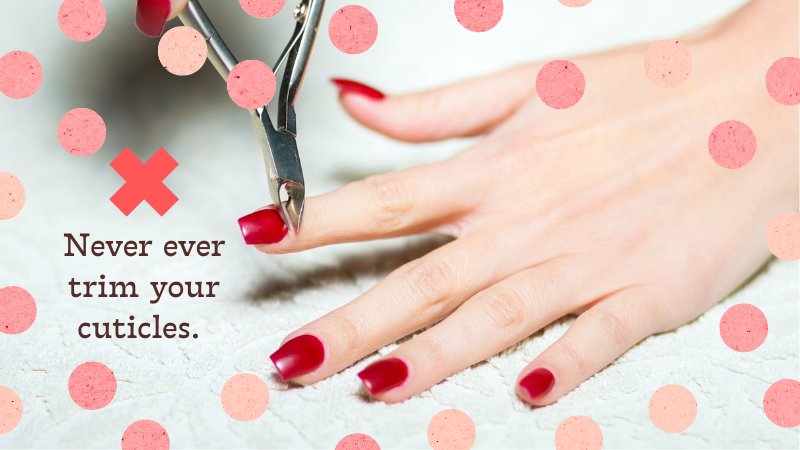
- Never trim your cuticles. You might want to, but cuticles prevent infections from happening. It is safer to go with the method explained before.
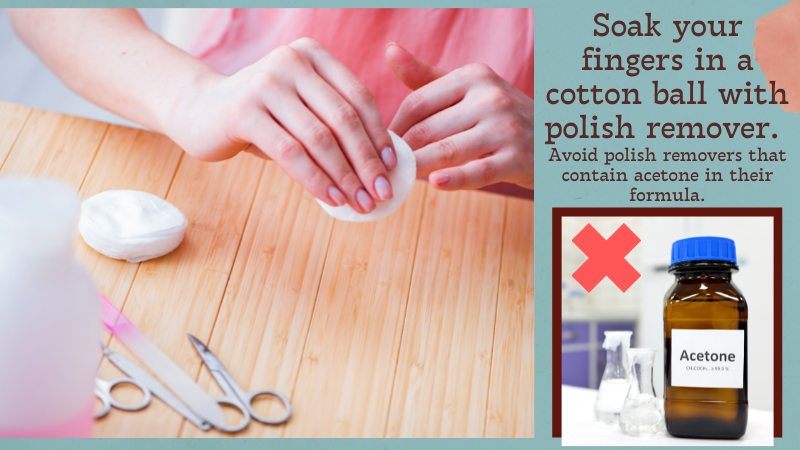
- Soak your fingers in a cotton ball with polish remover a few minutes before taking it off. It will help the formula penetrate all layers and allow for an easier and cleaner removal. Try to avoid polish removers that contain acetone in their formula. They tend to be more aggressive with our nails and may weaken them in the long term.
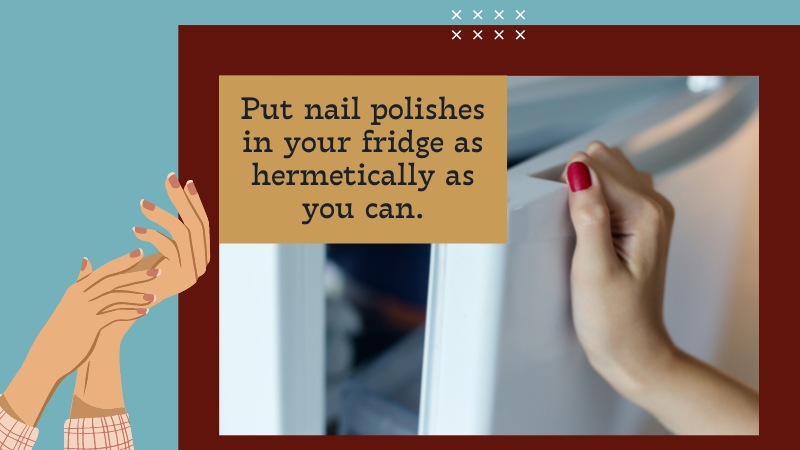
- Storing your nail polish properly will help it last longer. You can do this by putting them in your fridge as hermetically as you can. Heat, sunlight, and humidity alter the chemistry of the polish and will ruin it.
If you practice a little, you can achieve great-looking feminine nails in no time!
Saving you tons of money on a nail salon, let me add.
Although you can start with some basic shapes, with these tips in mind, I’m sure you can achieve any style you want.
So, what do you think? Did I miss anything? Do you have any tips I forgot to mention here?
If so, let me know in the comments below. I hope that I could have been of some help to you. See you soon, darlings!
Written by Tina Munova.
Tagged With:DIY Manicure for Crossdressers , Nail Painting
- How to be a Trans Femboy Influencer in 2024
- 7 Easy Ways to Level Up Your Sexy Femboy Beauty Routine Instantly
- How to Make a Fake Pregnant Belly Look Real: Tips for Every Trimester
- Game On: Sporty Tips for Crossdressers Attending the 2024 Olympics
- How to Pose for Lewd Cosplay Photos for Crossdressers
- How to Explore Crossdresser Bondage Safely and Sensually
Established in 2009, We are a recognized manufacturer and seller of professional crossdressing products.
It is our aim to become not just the most creative manufacturer but also a very considerate seller, as we provide the best quality products for crossdressers all around the world.


 Breast Forms
  Body Suit
  Realistic Mask
  Femini Girdle
 Hip & Butt Enhancement (8)
 Penis Prosthesis
 Fake Muscle
 Bikini
  Wig
Wig  Corsets
 Course
 service@roanyer.com
 +8618652200711
 Facebook
 YouTube
 Twitter
 Instagram


